When I started developing my cyberpunk RPG as a solo dev, I had a very clear vision in my head: AI-generated pre-rendered backgrounds, in the style of 1997’s Blade Runner or the classic Resident Evil games.
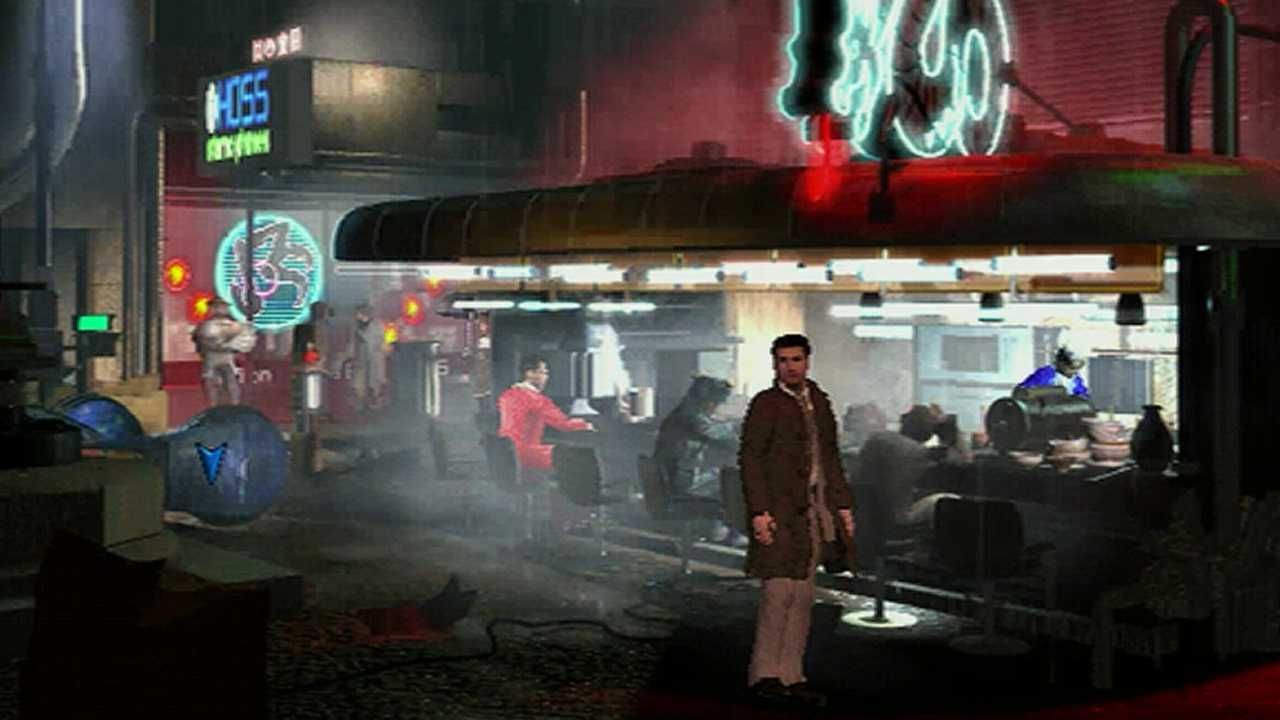
Fixed cameras, cinematic framing, the character moving over a static image dripping with atmosphere. Sounds incredible, right? It is. Until you actually try to do it.
This post tells the real story of how I spent weeks experimenting with different generative AI tools, fighting a problem none of them fully solved, and how I eventually made the decision to abandon that approach and build my environments in 3D with Unity and ProBuilder.
The original idea: the cinematic dream
My first setup in Unity 6 was simple and elegant. A background image (a 3D Quad with an Unlit material), the camera calibrated with fSpy to match the image’s perspective, and the collision geometry built in ProBuilder with the Mesh Renderer disabled.
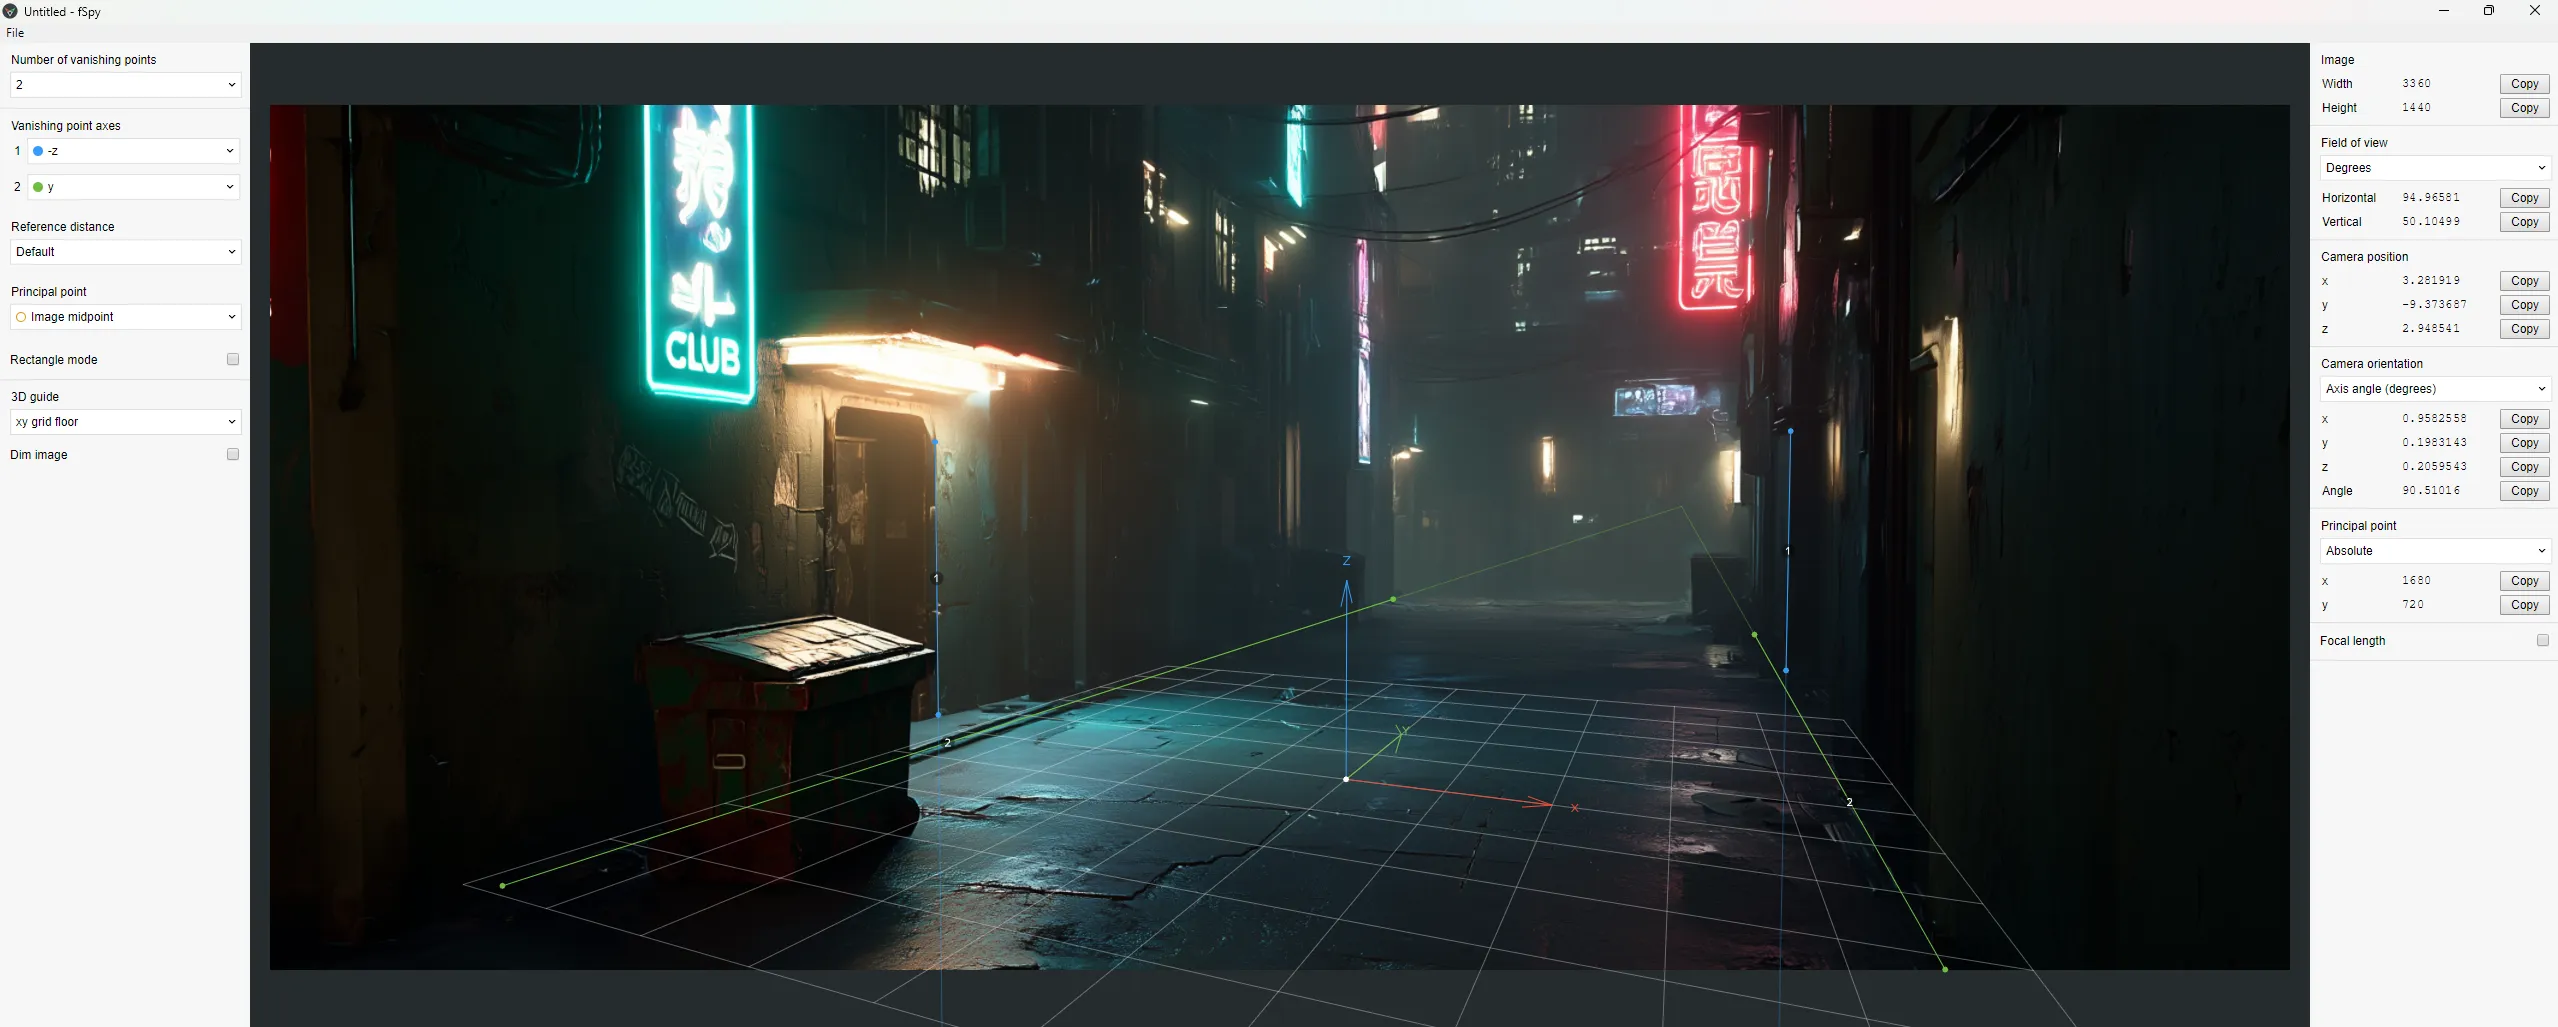
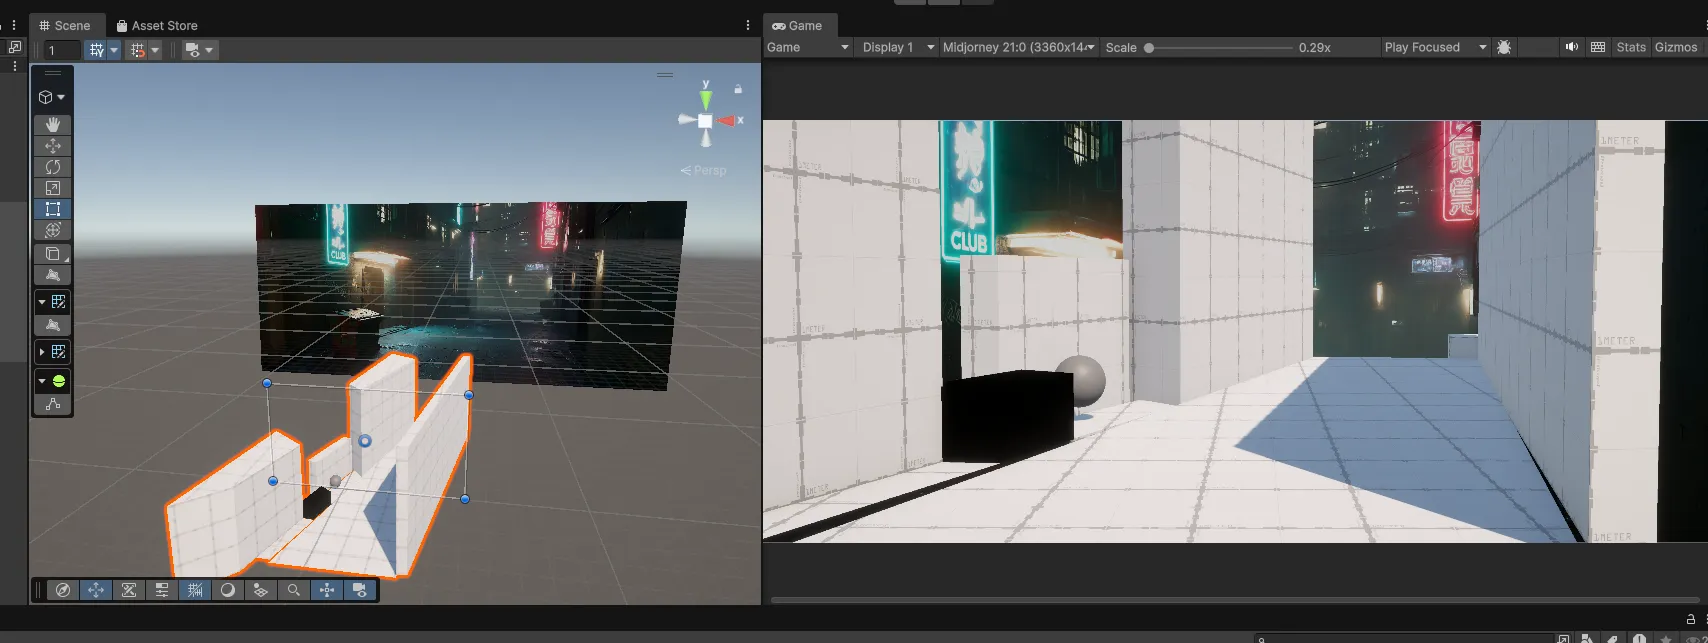
The character walked on top of it, and whenever they needed to pass behind a background object (a container, a bar counter, a column), I used occlusion Quads cut out by layers.
The system worked. The problem was something else: generating the backgrounds.
Midjourney: stunning quality, zero control
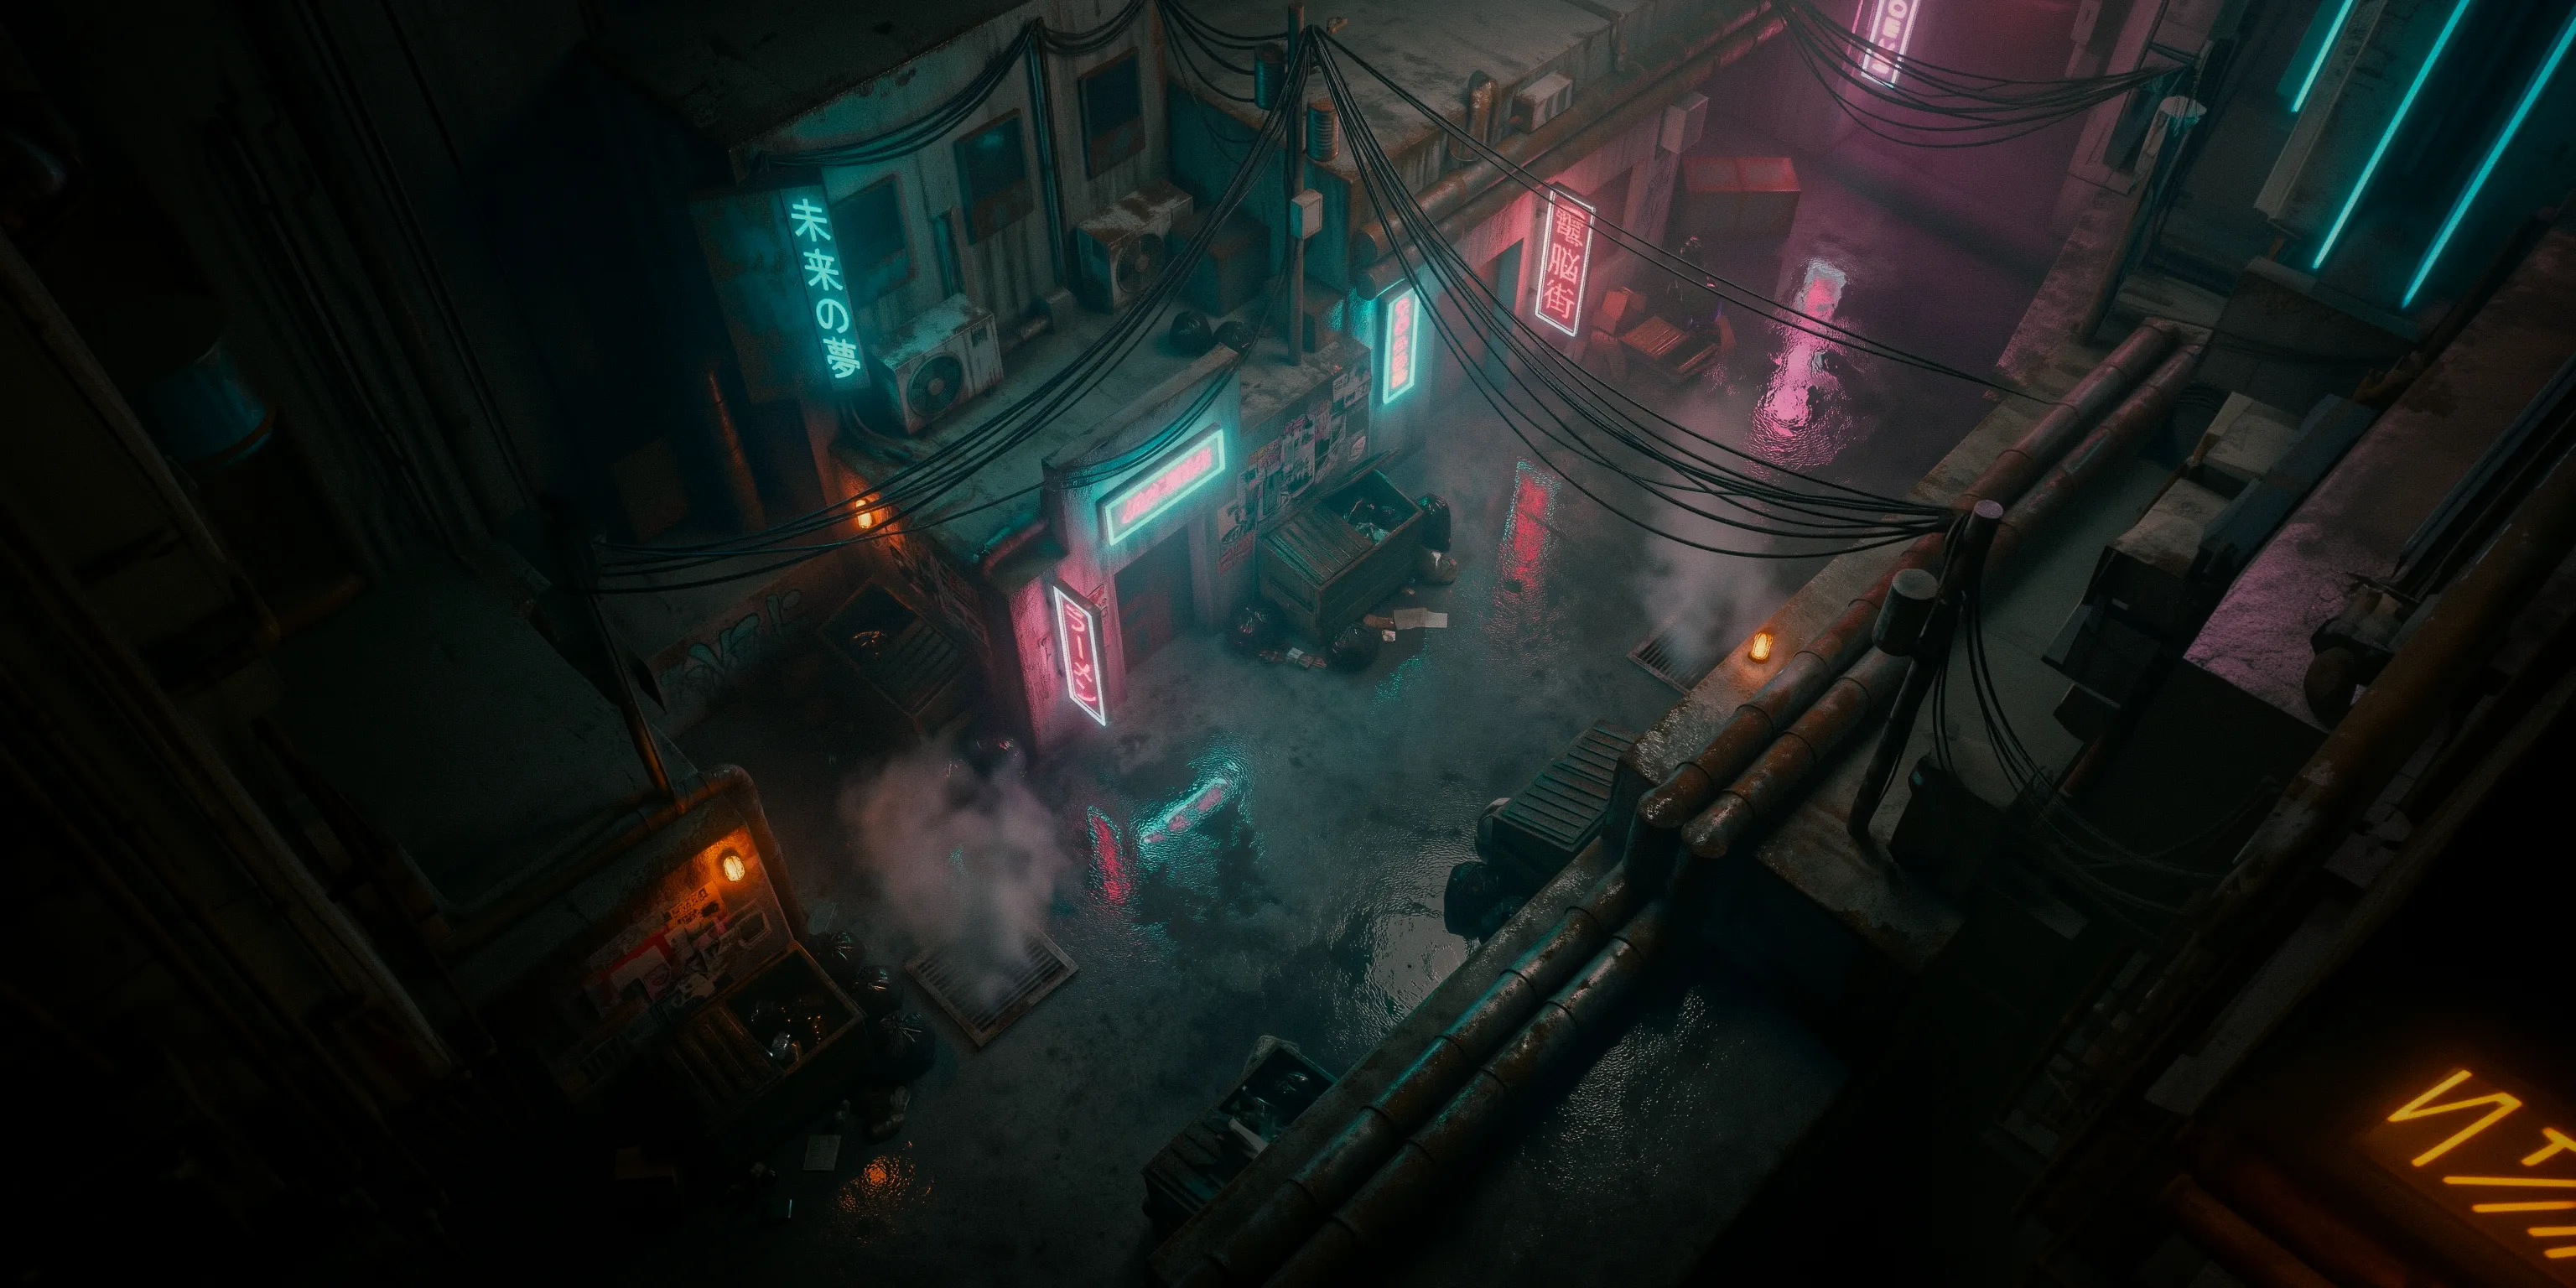
My first tool was Midjourney, which at the time was on version 7. The visual quality was spectacular. You’d write a prompt asking for a cyberpunk alley with neon lights, wet asphalt, and volumetric fog, and it would return an image that looked straight out of a Ridley Scott film.
The first background I generated was an interior bar. Warm lighting, orange and blue neons, reflective floors… I was thrilled. I spent about $4 in credits iterating variations.
But when I tried to generate the second scene, a night exterior, the problems started. The camera angle was completely different. You’d ask for a “high angle shot” and get a ground-level photo. I tried “bird’s eye view”, “drone shot”, “overhead shot”, “camera tilted downward at 45 degrees”… Sometimes it worked, sometimes it didn’t.
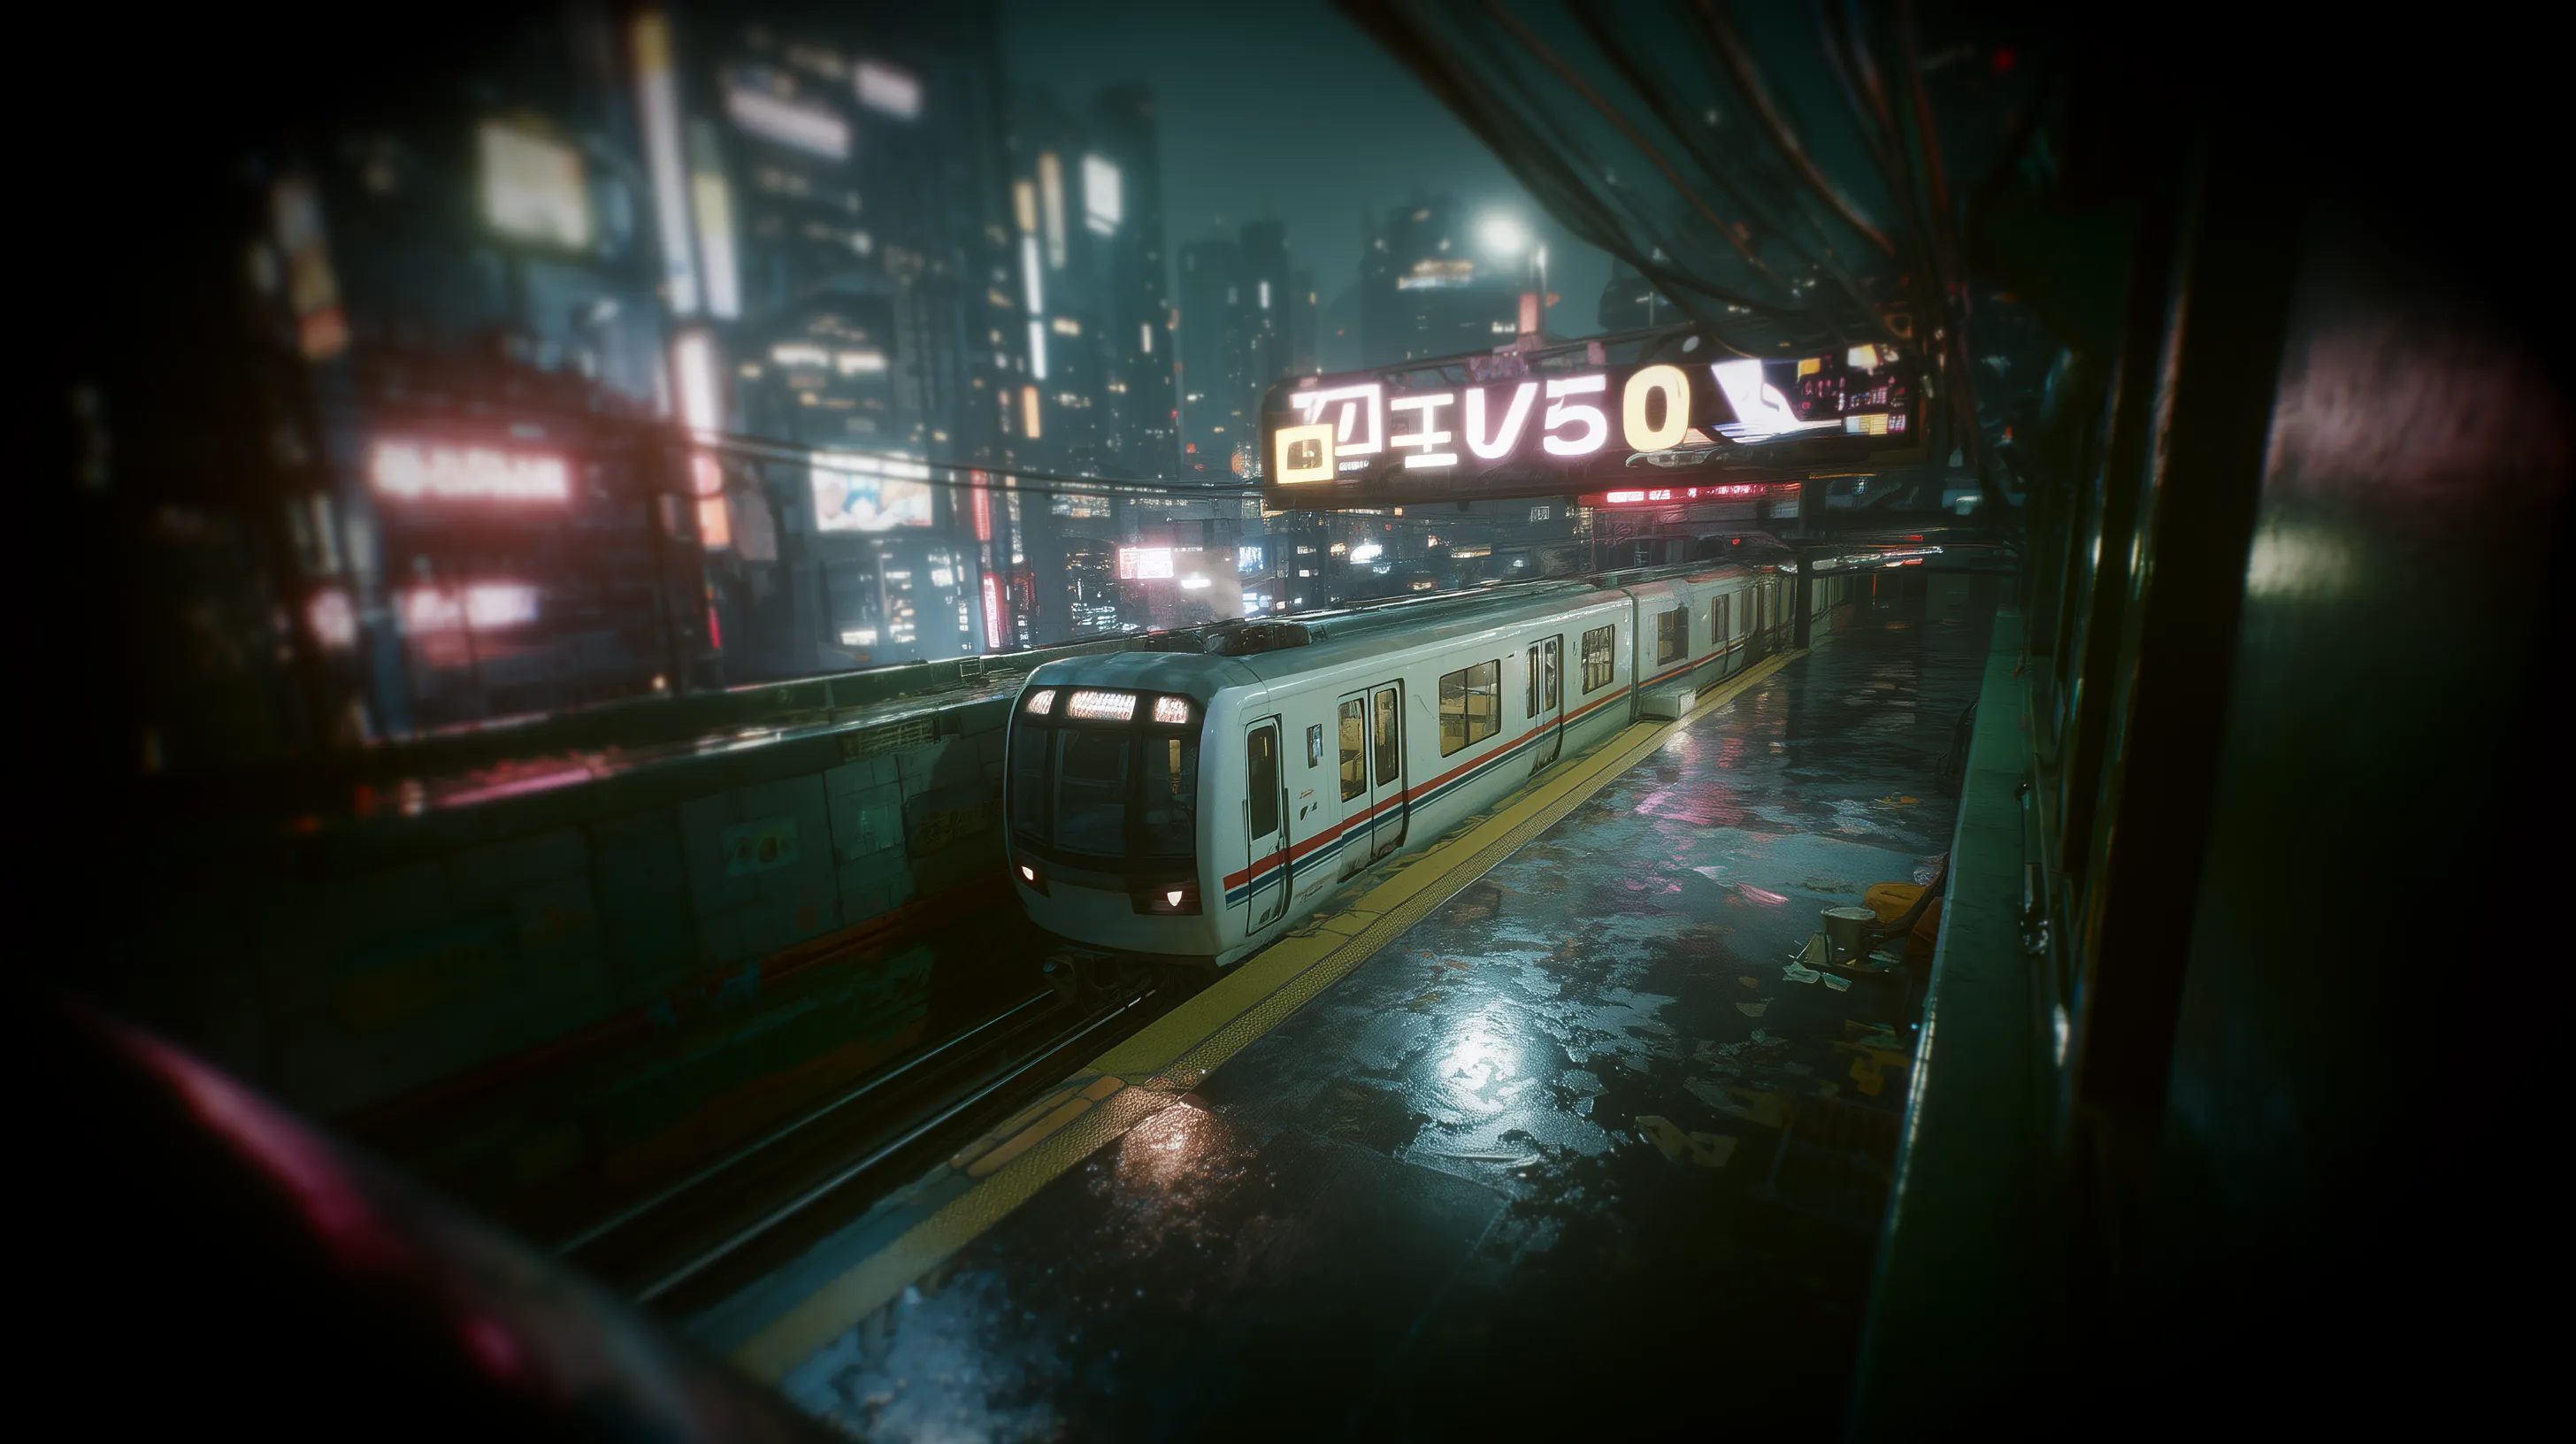
Realistic top-down perspective, dron angle shot of a cyberpunk metro station at night lined with towering neon-lit skyscrapers opens, a white train is in the station, wet asphalt reflecting neon signs, ground plane, Shot on Kodak Vision3 500T film, 35mm lens, grainy, cinematic lighting, dirty lens flare, hyper realistic textures, Blade Runner aesthetic, playable game environment
I explored Midjourney’s parameters: --sref for style consistency, --cref for composition and angle reference, --style raw for more literal results. I even followed techniques from specialized blogs for generating isometric assets with 30-degree orthographic projection. The results looked nice, but consistency between scenes was a coin toss. On top of that, the interior style didn’t match the exterior because of the lighting. --sref preserved the color palette, but it didn’t understand that I wanted world consistency.
Then there was the scale problem. For a playable demo I’d need at least 15 to 30 backgrounds. For a full game, hundreds. With each background requiring iterations to find the right angle, credits and time multiplied with no guarantee of results.
ComfyUI and Stable Diffusion: total control, insufficient quality
If Midjourney was quality without control, Stable Diffusion was the opposite. I set up a local environment with ComfyUI, downloaded Juggernaut XL as the base model, installed ControlNet with Depth models for SDXL, and started experimenting.
The idea was to generate a depth map from Unity (a grayscale capture of my scene’s geometry) and use ControlNet to force the generated image to respect that exact perspective. And it worked: the angle was spot-on. ControlNet did its job flawlessly.
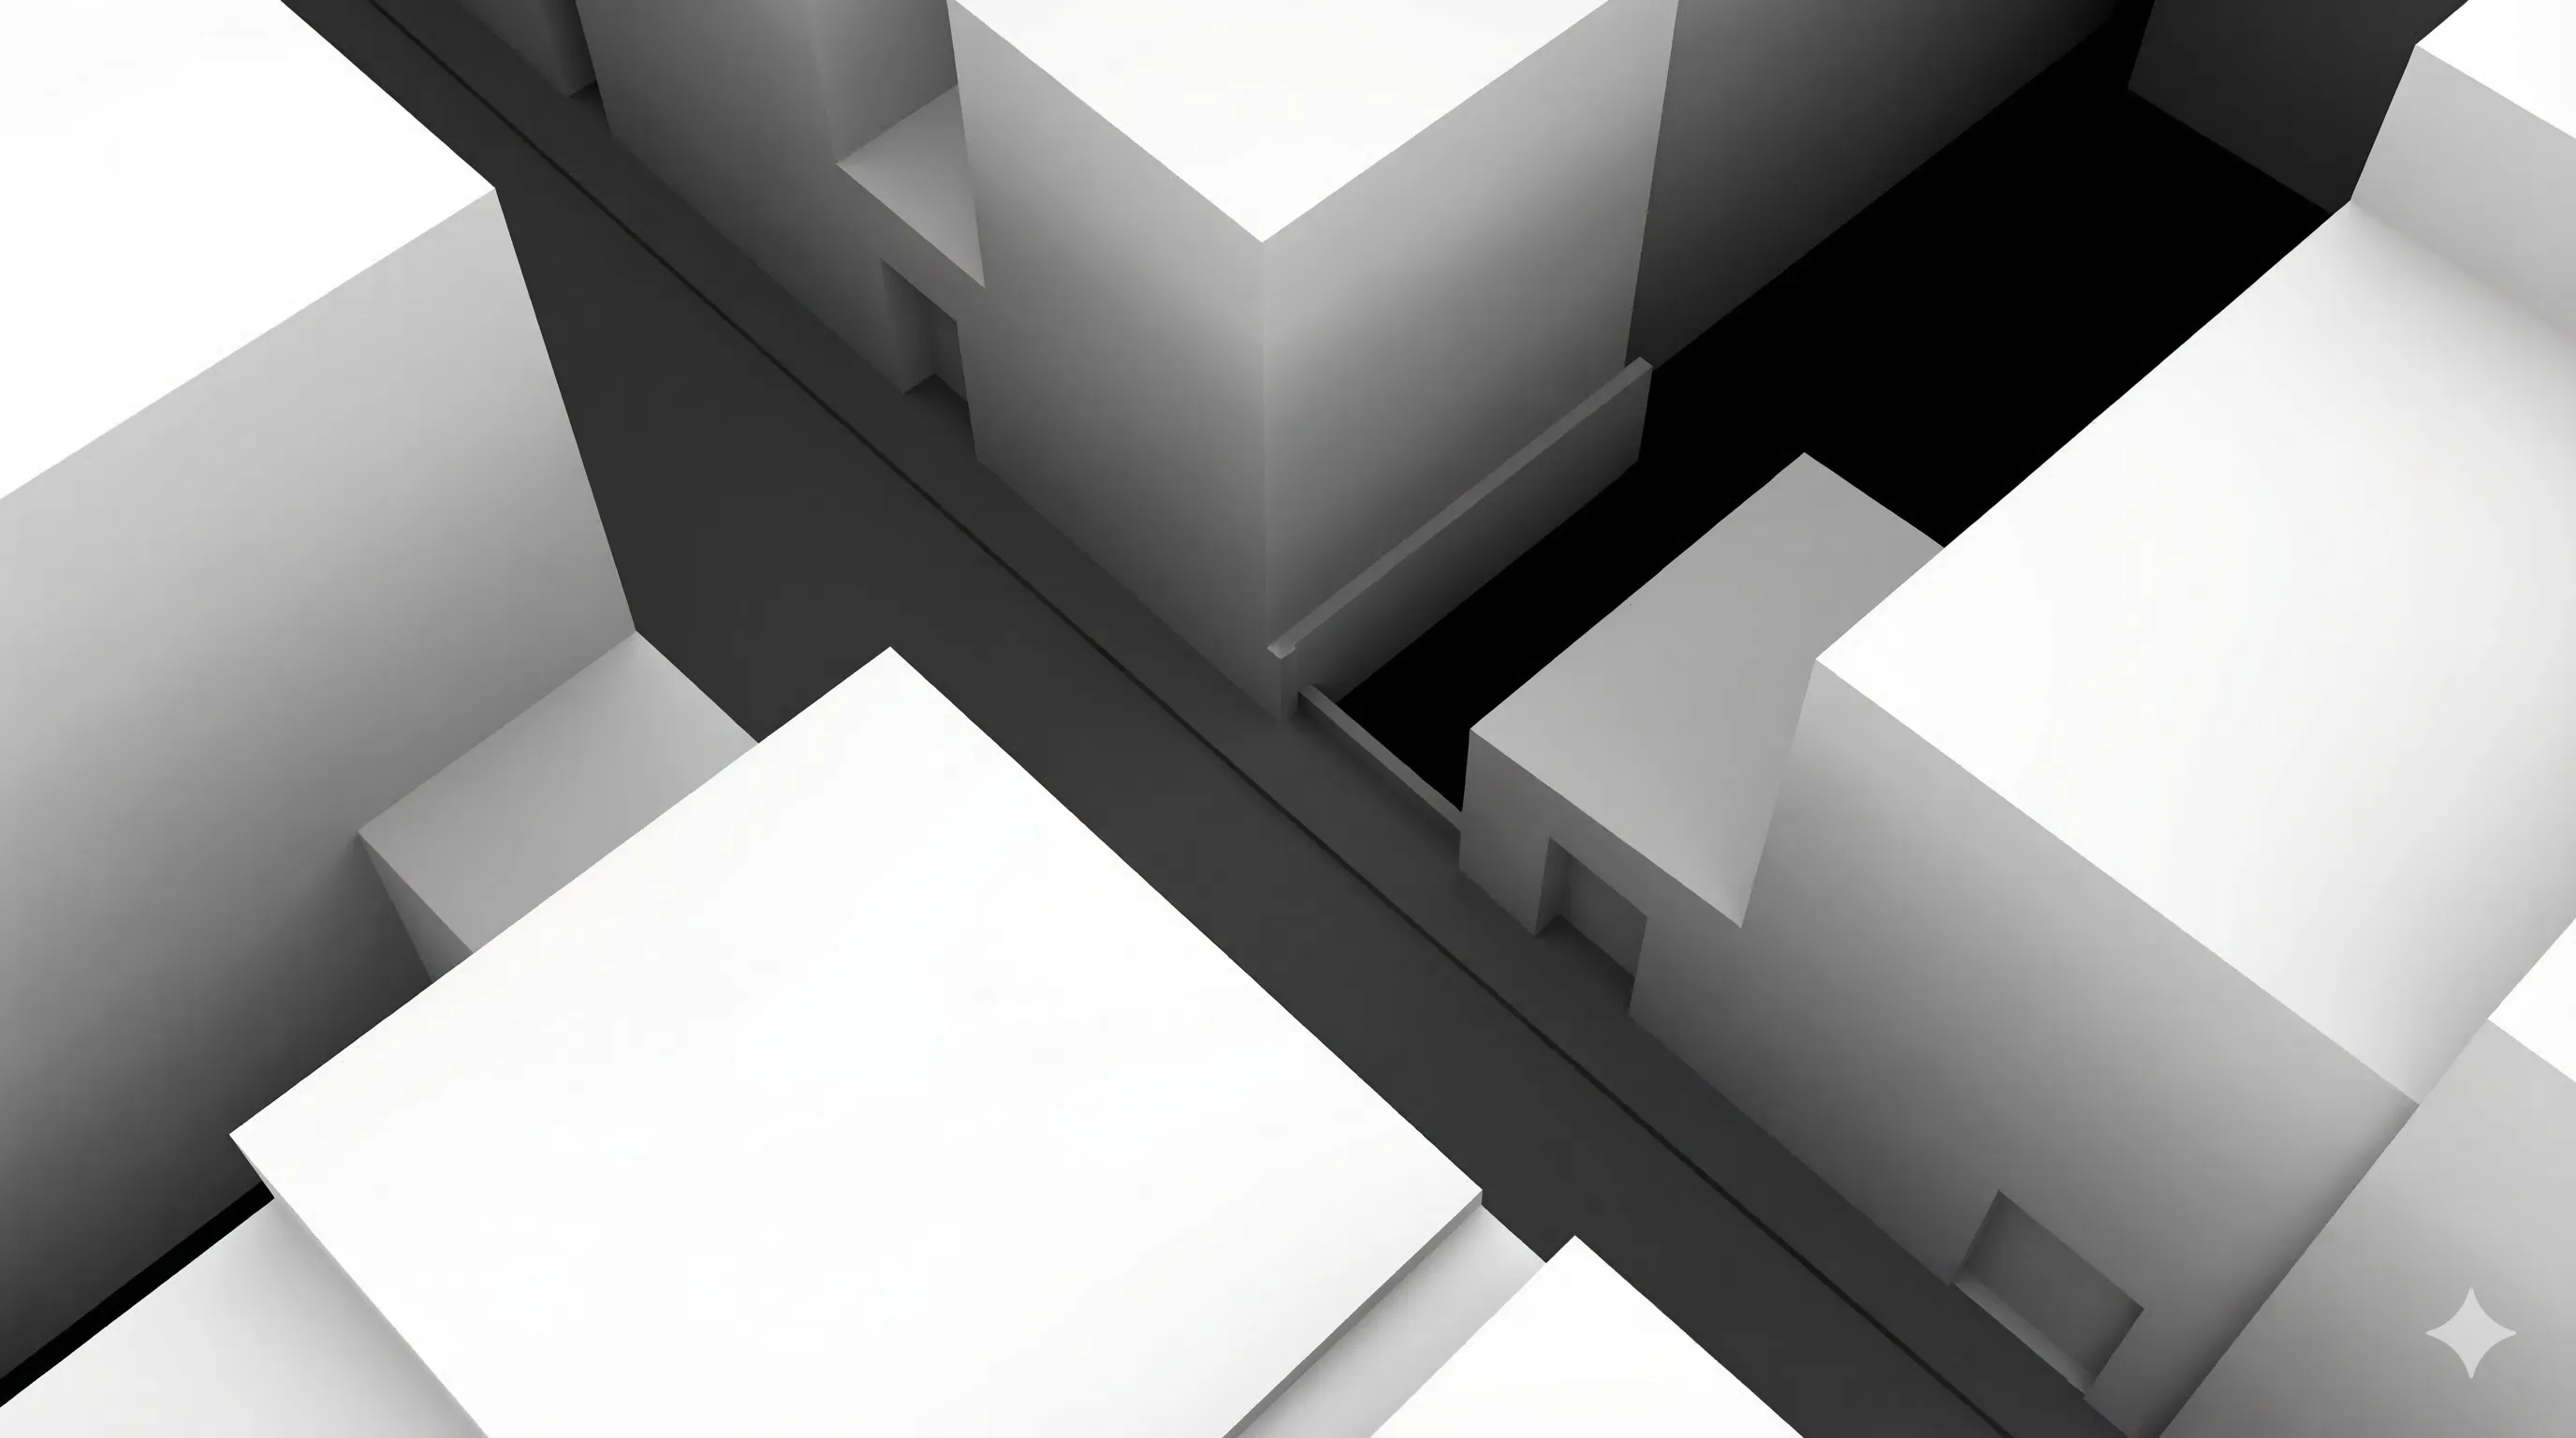
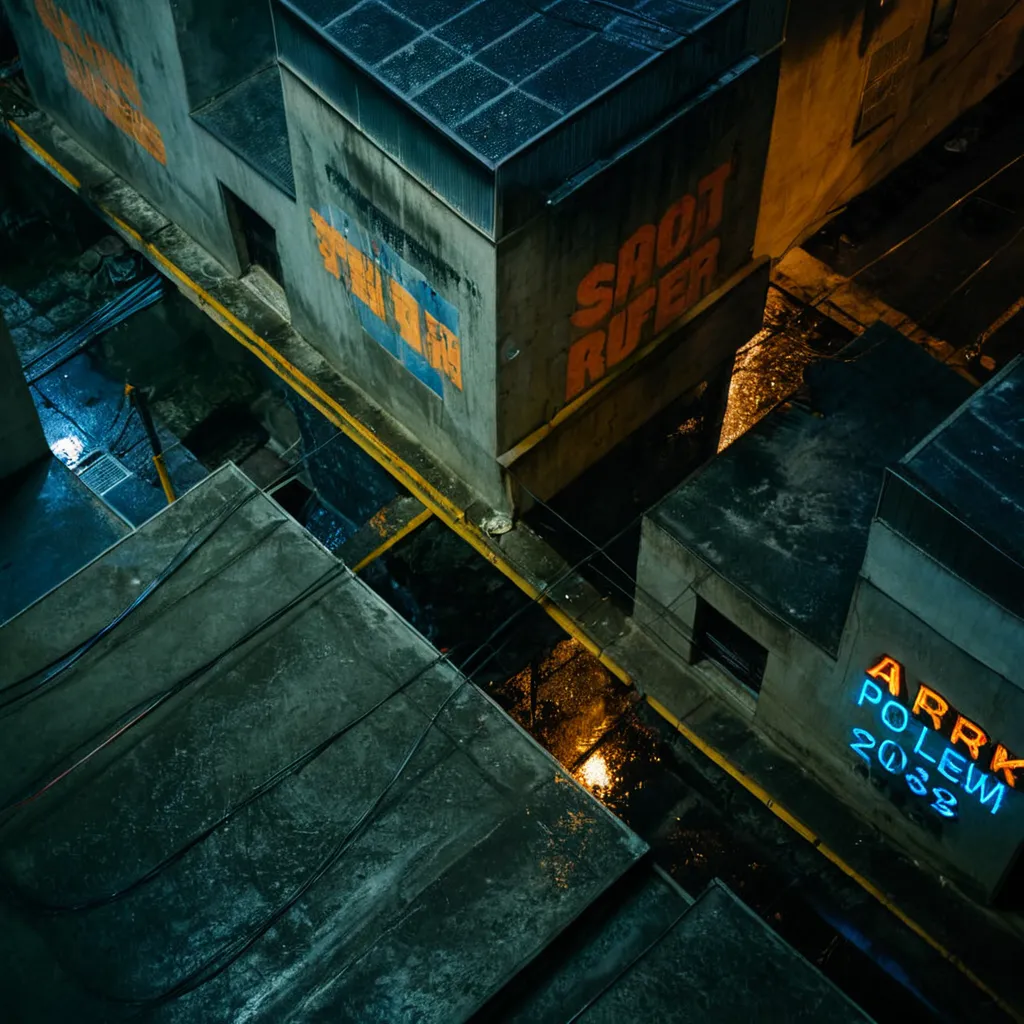
The problem was everything else. The quality of the generated environments didn’t come close to Midjourney. The colors looked like digital art, the textures were repetitive, every building looked the same. Juggernaut XL was optimized for people, not architecture. I tried other models like DreamShaper XL and RealVisXL, set aggressive negative prompts to avoid the illustration look, added cyberpunk-style LoRAs… It improved, but still didn’t convince me.
With my 8GB of VRAM, generations took a minute and a half for 1080p. For 4K I needed an upscaling pipeline with models like RealESRGAN, adding complexity to the workflow.
I also tried Flux, the alternative from Black Forest Labs, but it was very tight on my hardware and the ControlNet and LoRA ecosystem was still limited compared to SDXL.
Gemini Pro Image (Nano Banana Pro): the almost perfect
Then I discovered that Gemini 3 Pro Image from Google was available in ComfyUI under the codename “Nano Banana Pro”. The quality was excellent, close to Midjourney, and at a reasonable price: $0.24 per image in 4K, $0.13 at lower resolutions. For 50 backgrounds we’re talking $6 to $12 total.
I ran a direct test: fed it a depth map and a cyberpunk prompt. The generated image respected the geometry quite well. The main volumes, the perspective, the relative depth… everything lined up. It invented details (air conditioning units, cables, neon signs that weren’t in the depth map), but that was welcome.
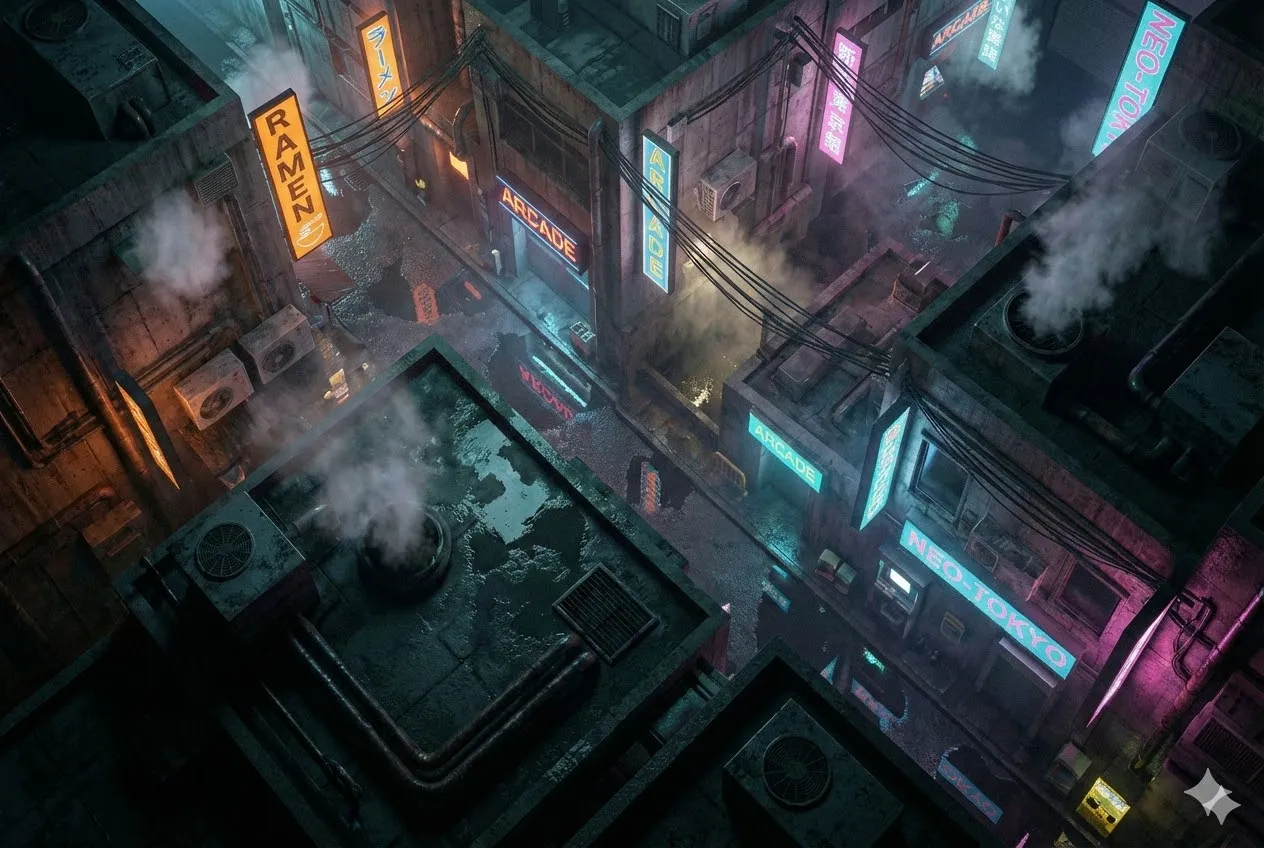
The most interesting part was when I tried feeding it reference images directly. I uploaded several Midjourney captures with top-down angles, some depth maps, screenshots from Diablo IV and other isometric games. The result was incredible: consistent angle, perfect Blade Runner atmosphere, varied neons, wet floor with reflections. I managed to generate three views of the same alley with very solid visual coherence.
But there was a “but”. Gemini was “averaging” the angles from all the references. If I didn’t feed it images with exactly the same angle, the result varied. Where exactly the camera ended up was a bit of a lottery. Sometimes the angle was perfect, sometimes it drifted a few degrees that broke the illusion.
I tried combining the best of both worlds: ControlNet from ComfyUI to force the geometry with Nano Banana Pro for visual quality. In theory, it was the perfect combination. In practice, the technology still wasn’t mature enough for this very specific use case.
The real problem: consistency
After weeks of experimenting, the diagnosis was clear. There was a mental table that haunted me every session:
| Tool | Quality | Camera control |
|---|---|---|
| Midjourney | Excellent | Low |
| ControlNet + Stable Diffusion | Medium | High |
| Gemini Pro Image | Very good | Low |
No tool combined photorealistic quality with precise perspective control. And for a fixed-camera game, the angle can’t vary by a single degree between scenes, because the 3D characters from Character Creator 5 move in real space and need to match the background.
Then there was the lighting matching problem. Every AI-generated background had its own lighting. For the 3D characters not to “float” over the image, you had to manually configure the lights in each scene to match the background. In the bar, orange lights from the left, blue from the right. In the alley, a completely different setup. Multiplied by dozens of scenes, the manual work was unmanageable for a solo developer.
The decision: isometric 3D with Unity and ProBuilder
One day, while struggling to get yet another image to have the right angle, I realized something obvious:
I was spending more time fighting AI tools than actually building the game.
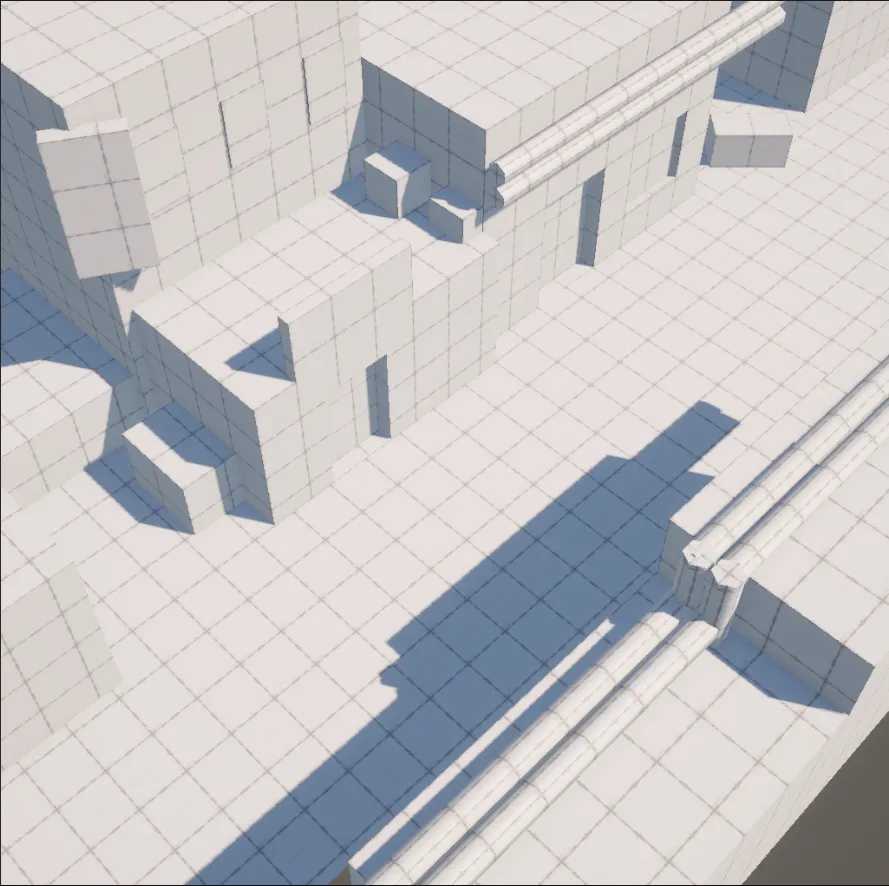
I made the decision to abandon pre-rendered backgrounds and build my environments directly in 3D. Isometric view with a fixed perspective camera (not orthographic), built with ProBuilder. The same camera angle that had cost me so much to replicate with AI was now set once and worked forever.
The advantages were clear:
- Free consistency: same camera, same angle, same lighting across all scenes.
- Modularity: I could create a kit of pieces (floors, walls, corners, doors, stairs) and reuse them to build levels quickly.
- Natural lighting: the CC5 characters lived in the same 3D space as the environment, so lighting worked without manual adjustments.
- Scope control: instead of depending on the quality of an AI’s output, I depended on my own work, which I could iterate and improve.
What I lost was that hyperrealistic cinematic finish that Midjourney achieved with a single prompt. But I discovered that for an isometric view at a certain distance, I didn’t need that level of detail. AI-generated textures at 256 pixels looked surprisingly good applied to 3D geometry, and the low-quality exports from Character Creator 5 were more than enough when the camera doesn’t get close.
AI is still there, just in its place
I haven’t abandoned generative AI. It’s still an essential part of my pipeline, but in a different role. I use Gemini and Midjourney to generate textures, advertising posters for the game’s streets, TV ads for the in-world screens, worldbuilding content that enriches the universe of my novel “Babel: The Last Shift”. Corporate propaganda, curfew notices, missing persons posters… it all adds to the lore without needing a precise camera angle.
AI is brilliant for generating visual content when you don’t need exact geometric control. For textures, for concept art, for decorative elements. Where it fails is exactly where I needed it to work: in the consistent generation of complete environments with controlled perspectives.
What I learned
If you’re thinking about using AI-generated pre-rendered backgrounds for your game, this is what I wish I’d known from the start.
The technology is impressive but not ready for this specific use case. ControlNet solves geometric control but sacrifices quality. Midjourney and Gemini deliver quality but sacrifice control. No current combination reliably solves both problems at once.
For a solo developer, visual consistency matters more than raw quality. A modest but coherent 3D environment looks more professional than spectacular backgrounds where every scene seems like a different game.
Scope matters. If you need 5 backgrounds for a demo, the pre-rendered approach might be viable with a lot of patience and Photoshop. If you need dozens or hundreds, building in 3D is more sustainable.
And most importantly: it’s okay to change course mid-project. Those weeks of experimentation weren’t wasted time. I learned to use ComfyUI, ControlNet, depth maps, and found a texture and decorative asset generation pipeline that I still use daily. The path wasn’t straight, but every detour left useful tools behind.
The technology moves fast. Maybe in a year this story will be different and there will be a tool that combines Midjourney quality with ControlNet control. But today, for my game, the right decision was to pick up ProBuilder and build my own cyberpunk alleys, brick by brick.